Visual Studio Team Services Build with Redgate DLM Automation Build
One of the great parts about Microsoft's new Visual Studio Team Services (formerly Visual Studio Online) build is the extensibility. Anybody can make custom build steps to bring in. Redgate has taken advantage of that extensibility and made a custom step so anyone can get up and running with their DLM (database lifecycle management) Automation Build process. This post will take you through the steps to get up and running.
Step #0 - Setup the build agents
Visual Studio Team Services can run as either hosted agents (hosted by Microsoft) or on premise. At Farm Credit Services of America we run our agents on premise for security purposes and so we can have it deploy using an on-premise Octopus Deploy. It is very simple to setup an agent. Follow the steps outlined here.
A couple of notes when setting up the agent. It should run under a service account. This service account will need:
- Permissions to connect to SQL Server (if not using LocalDb as the scratch server)
- License to Redgate's DLM Suite.
To install the license you will have to login to the server running the agent and register it using the key you received when you purchased the suite from Redgate.
Step #1 - Create a test build
Creating a test build will allow you to play around with settings and get everything working prior to setting it up for your team.
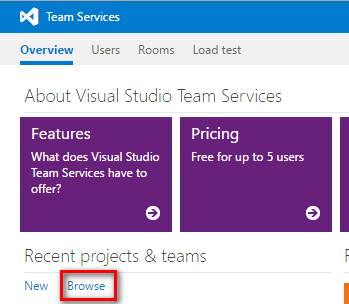
- Login to your visualstudio.com account.
- Click the tiny browse link to go to your project.
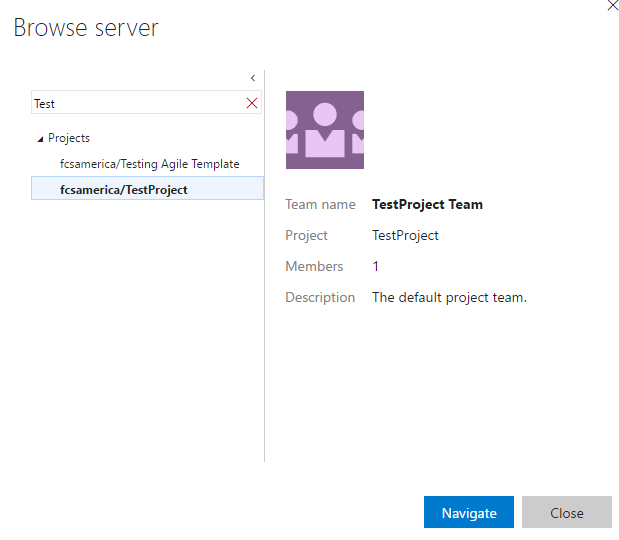
- Find your project and click the navigate button
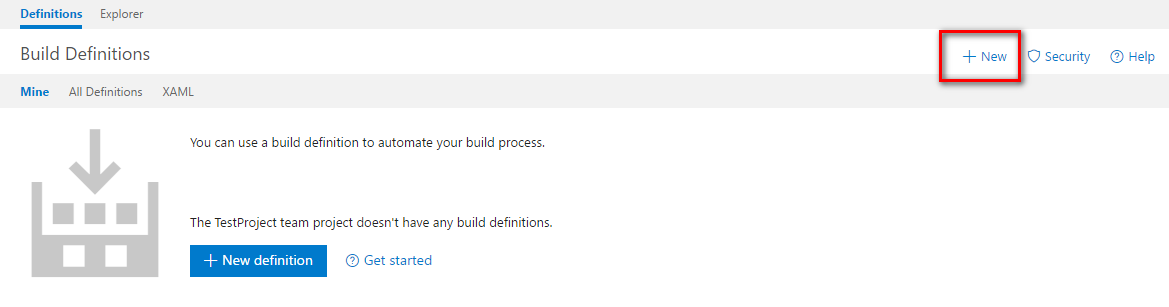
- Click the build button at the top of the screen

- Click the new link at towards the right of the screen
- Select empty build and click next
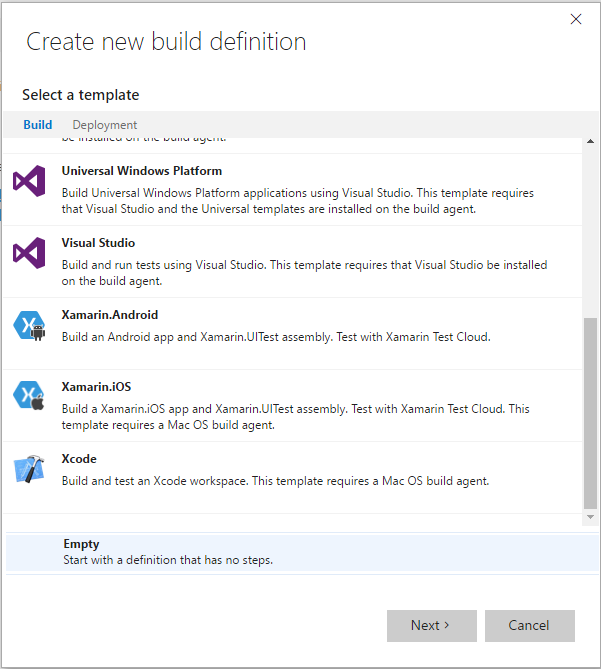
- Fill out the form. Be sure to select anything but hosted in the agent queue
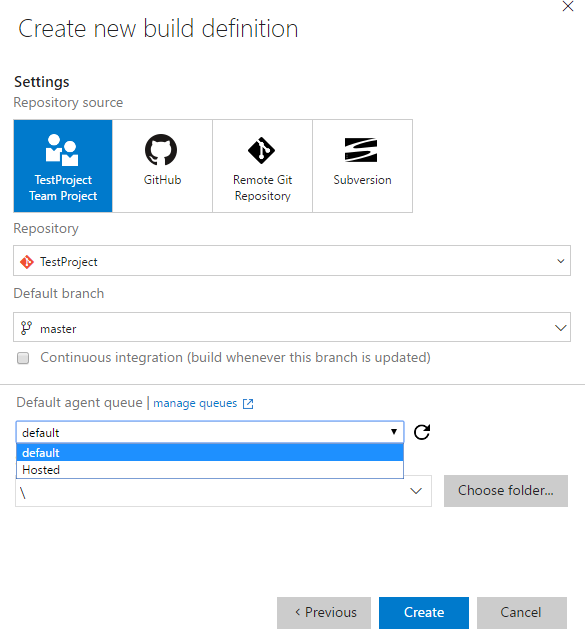
Now you should have an empty build definition to play around with.
Step #2 - Add Redgate DLM Automation Build Step
Now that the build is setup, now it is time to start customizing it.
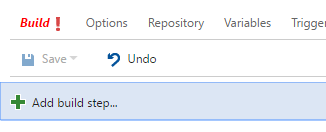
- In the "build definition," screen click the add step button
- In the modal window that appears select build and scroll down until you find Redgate DLM Automation build step. Please Note: clicking the add button will add it to your build but it will not close the modal window.
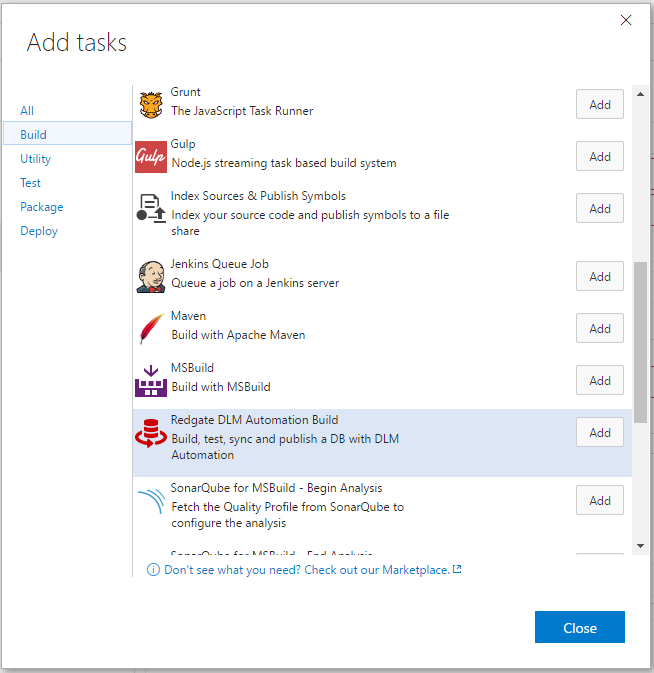
That's it! Now you have the step added. Let's take a moment to walk through it.
At the top of the build step you will see a drop down list containing options.
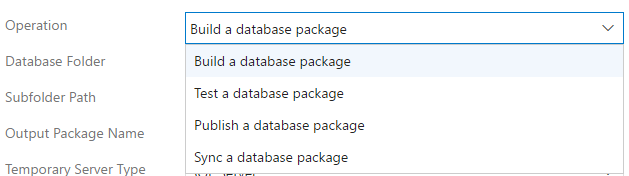
In my previous post I walked through the definitions of each option. For the TL;DR; folks here is a brief outline of each option
- Build - takes what is in source control and builds a NuGet database package. Please Note: this step must happen first.
- Test - takes the NuGet database package and runs tsqlt tests.
- Publish - publishes the NuGet database package to a NuGet feed. Useful for pushing a package to Octopus Deploy
- Sync - syncs the NuGet database package with a database on an SQL Server. Use this option when you don't have a separate deployment server.
Step #3 - Build a database package
Selecting the build a database package option changes the form around to show you these options.
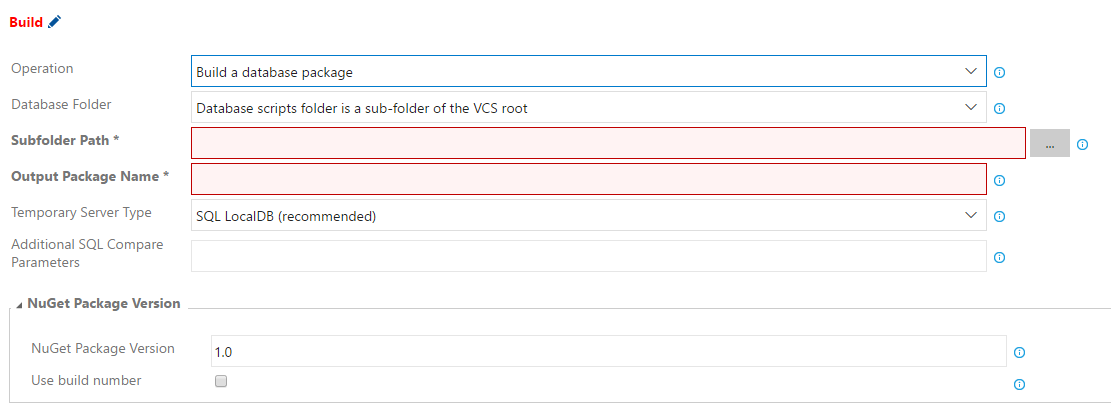
- Subfolder Path - The subfolder path is where in your repository you have setup Redgate SQL Source Control to save to.
- Output Package Name - the name of the database NuGet Package
- Temporary Server Type - where the package will be built. The DLM process will take what is in source control and attempt to create a database using it. If anything is incorrect it will blow up. There are two options, LocalDB and SQL Server. If you select SQL Server you will have fill out the authentication method.
- Authentication Method - If you choose SQL Server as the temporary database type you will have to select this option. It allows you to have SQL Server or Windows Authentication. I do not recommend SQL Authentication because you have to save the username/password with your build
- Additional SQL Compare Parameters - you can send in command line options. Read more about them here(you will be visiting this page a lot).
- NuGet Package Version - defaults to 1.0.
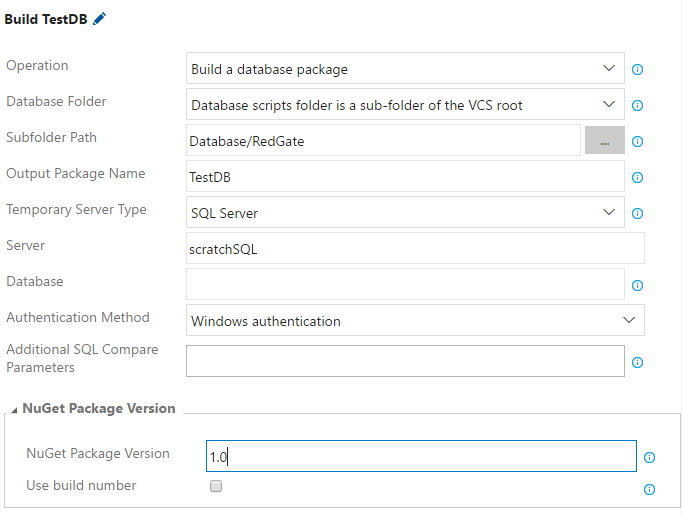
Here is a sample of a filled out form.
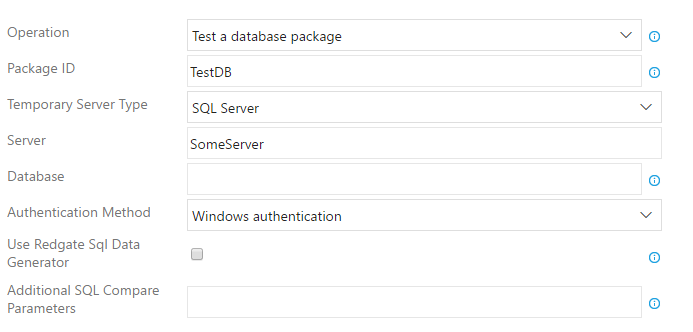
Step #4 - Test a database package
If you have tsqlt tests saved in source control you can run them using this step.

- Package Id - this is the name of the database NuGet package from the build step
- Temporary Server Type - this is where the tests will run. There are two options, LocalDB and SQL Server. If you select SQL Server you will have fill out the authentication method.
- Authentication Method - If you choose SQL Server as the temporary database type you will have to select this option. It allows you to have SQL Server or Windows Authentication. I do not recommend SQL Authentication because you have to save the username/password with your build
- Additional SQL Compare Parameters - you can send in command line options. Read more about them here
- NuGet Package Version - defaults to 1.0.
Here is a sample of a filled out form.
Step #5 - Publish a database package
The previous step built the database package. If you are using a different tool to handle your deployments such as Octopus Deploy then you will need to publish your package to a NuGet feed for it to access.
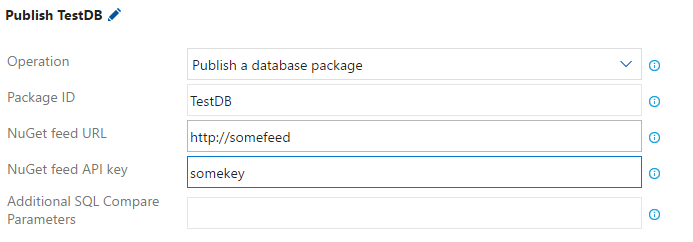
Selecting the publish a database package option changes the form.
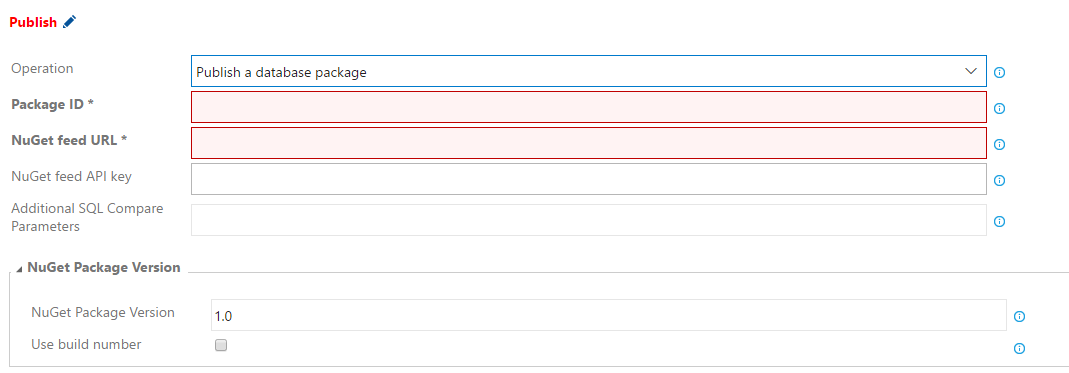
- Package ID - this is the name of the database NuGet package from the build step
- NuGet feed URL - the URL you will be publishing to
- NuGet feed API Key - Some feeds require a special key in order to upload to them.
- NuGet Package Version - defaults to 1.0
Here is a sample of a filled out form.
Step #6 - Sync a database package
If you are not using a different tool to handle deployments then this process can that for you. Change the option to sync a database package.
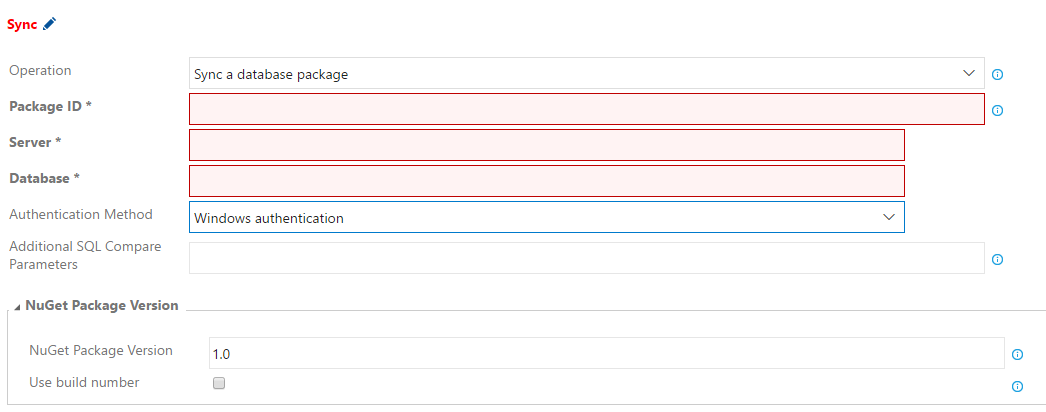
- Package ID - this is the name of the package from the build step
- Server - the SQL server you are deploying to
- Database - the database you want to sync the database NuGet package
- Authentication Method - If you choose SQL Server as the temporary database type you will have to select this option. It allows you to have SQL Server or Windows Authentication. I do not recommend SQL Authentication because you have to save the username/password with your build
- Additional SQL Compare Parameters - you can send in command line options. Read more about them here
- NuGet Package Version - defaults to 1.0.
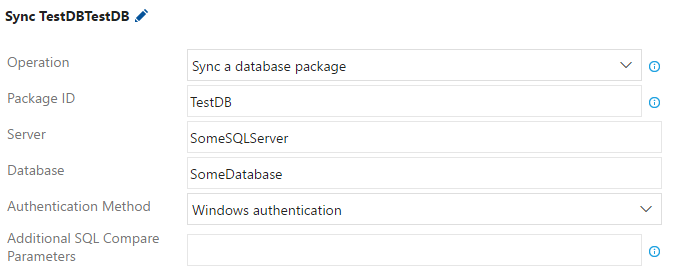
Here is a sample of a filled out form.
Scaling for the enterprise
Setting up this build should highlight a few areas to focus on when attempting to scale for the enterprise. Specifically, the options you are allowed to fill out. Here is a list of items that have the highest probability of duplication across projects.
- NuGet feed URL
- NuGet feed API
- NuGet Package Version
- Scratch Database Server (when not using LocalDB)
At Farm Credit Services of America, we implemented our custom logic when determining the version number. We wanted to have an auto-incrementing build, but still have a major and minor version. So our build numbers look like 2.6.[1234].[4567]. The items in brackets are what we want the build process to auto increment.
We also didn't want to pass out the NuGet feed API key to everyone. And if we ever had to change the API key or the URL, or even the scratch database server then it would have been a massive pain in the ass.
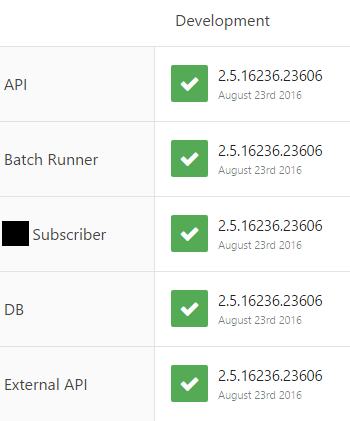
When we implemented Octopus Deploy we decided each component of the application needed to be a separate project in Octopus Deploy. This is because often times we wanted to deploy just the UI, or just the WebApi or just the database. In other words, we didn't want to have to deploy the whole application suite all the time. But sometimes we did. Or we would want to deploy parts of the suite. This meant the version number needed to be the same. This way we could tell the deployers to deploy version 2.6.2222.64521.
To summarize the requirements for the version number:
- Version Number must be unique for each CI build (Octopus Deploy Requirement)
- Version Number must follow this pattern [Major].[Minor].[Build].[Revision] (Enterprise Architect Requirement)
- Version Number must be consistent across all VSTS builds and Octopus Deploy projects. (Enterprise Architect Requirement)
To accomplish those goals, we created a custom build step that houses these shared values and logic. That way if anything changes we only have to change it one place. Thanks to this post by Jeff Bramwell (who works at Farm Credit Services of America), it is very easy to create a custom build step. The custom build step can be written in PowerShell. That is awesome because with PowerShell you can pretty much do anything you can do in C#.
There is a feature in the Visual Studio Team Services Build not promoted very well by Microsoft. It allows you to set a variable in one build step and have it used by other steps of the same build.
$customVersion = "1.2" Write-Host "##vso[task.setvariable variable=FCSA.VersionNumber]$customerVersion"
The syntax is a little goofy, but variable=[Something] means you are setting a variable name. The spot where $customVersion is where you can set the value.
After creating the custom build step and uploaded it, we added the build step to the start of the build process.
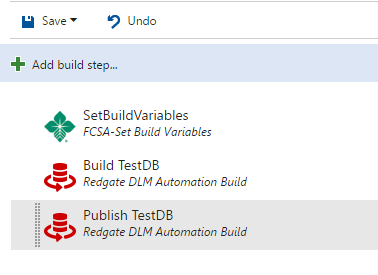
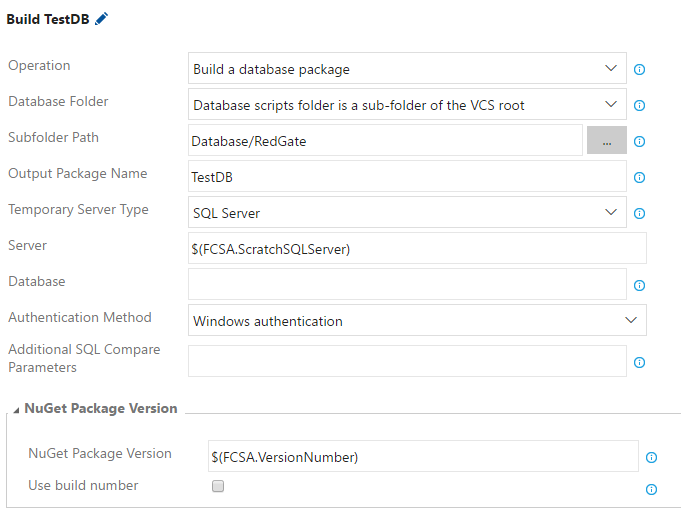
Using the variables is very easy. Here is the build a database package step with variables.
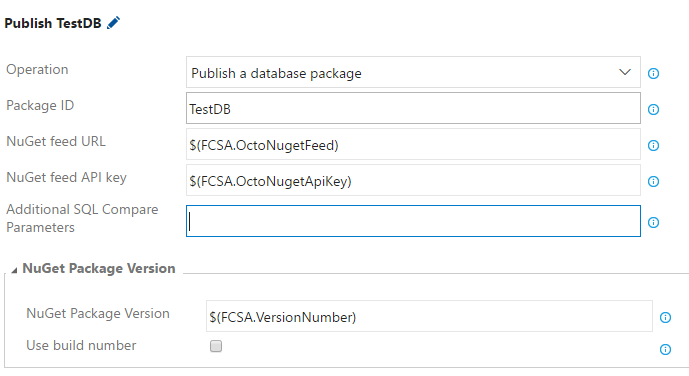
And publish a database package step with variables.
Wrapping Up
As you can see it is very easy to get Redgate's DLM Automation Suite working with Visual Studio Team Services. I highly recommend setting up some test builds and proofing this out before incorporating into your CI process. You don't want to stop your team from being able to build and deploy while you are experimenting.
I also recommend setting up a custom build step to set all the shared variables and logic between builds. It makes it very easy to scale out to other teams as well as minimizing maintenance. Right now we have dozens and dozens of builds. The last thing I want to do is spend time updating those builds because a API key or URL changes.